 Jug Scope
 turns a borescope and the iPad or iPhone already in your flight bag into a guided engine inspection — one that produces a complete, organized, analyst-ready record of every cylinder, the same way every time. Instead of fishing a probe around and hoping you got the angles, you follow an on-screen guide through a standardized eleven-view protocol, see a reference image for each shot, and finish with a labeled set you can review, compare against past inspections, or send out for an expert read.
This section is the quick orientation: what Jug Scope is, what you need to run it, which path to follow for your situation, and a sixty-second tour of the whole arc from opening the app to sharing a finished inspection. Once you have the shape of it, the rest of the guide fills in each step.
For owners — This is the difference between a phone full of loose, unlabeled engine photos and a credible record you can actually act on. Catch a problem early, watch your engine trend over time, and walk into a conversation with your mechanic already organized.
For shops — This is a way to make every borescope job look the same no matter who held the probe — a consistent, professional deliverable you can hand a customer, captured fast enough to fit a busy day.
Capturing needs a plan: an Owner / Mechanic plan or a Shop plan. So do importing past photos and sending to your shop, and creating a shop needs the Shop plan. Viewing what you’ve already captured, on any of your devices, never needs a plan or a credit. Exporting, sending outside your shop, uploading to Savvy, or creating a customer link needs the inspection unlocked with one inspection credit, and once it’s unlocked those are free. Sending to your shop isn’t free; it’s paid once, at hand-off, with one of the shop’s credits, or your own if the shop has none.
1.1 What Jug Scope is
Jug Scope is a guided cylinder borescope inspection app for piston general-aviation engines. Its job is to make a thorough inspection repeatable: it walks you through the same eleven views on every cylinder, in a deliberate order, with a reference image and positioning guidance for each one, then names and sorts every image by cylinder and view automatically. The result is a clean, complete set in the form an engine analyst expects — which is exactly what lets someone tell you, with confidence, how an engine is doing inside.
The eleven-view sequence is a real, recognized inspection standard, not something we invented. Jug Scope's contribution is carrying that standard for you — so the record looks the same whether it is your first inspection or your fortieth, and nothing important is left to chance.
Tip — The full capture workflow, view by view, lives in §4, The Inspection Workflow. This section is just the lay of the land.
1.2 What you need
Getting started takes very little. You need three things:
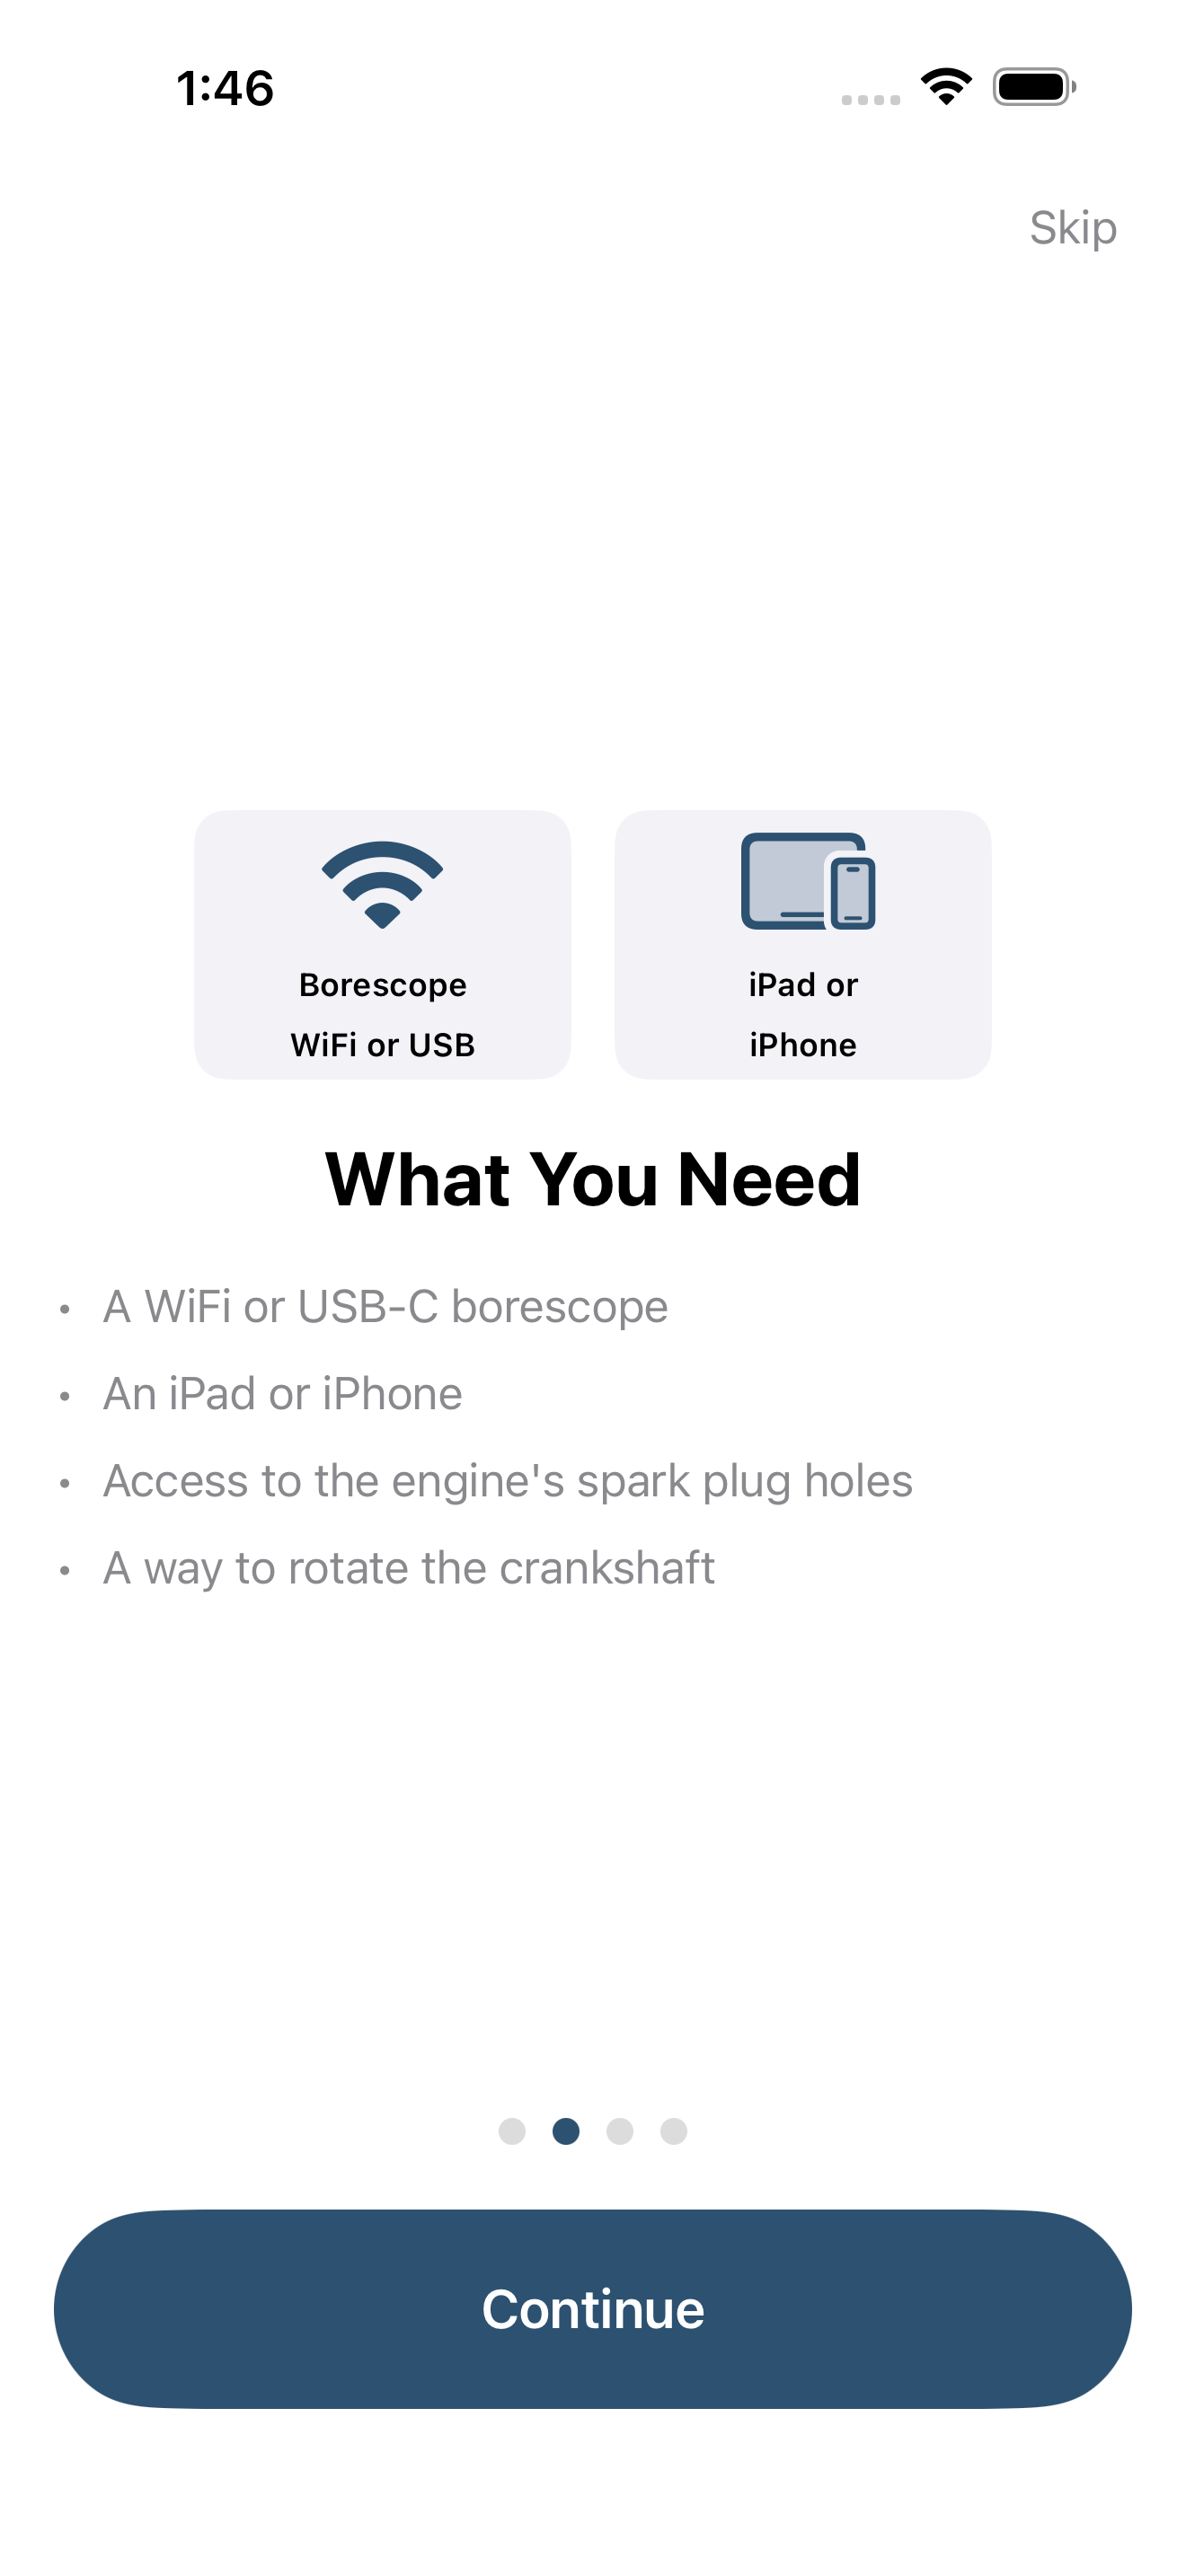
- An iPad or iPhone. Either works. The iPad's larger screen is easier to read at arm's length under a cowling; the iPhone goes anywhere.
- A supported borescope. A borescope thin enough to reach through a spark-plug hole. Use a WiFi borescope, the Ralcam F4A (it connects over its own cable, Lightning or USB-C), or the built-in camera. Supported hardware and how to connect each kind are covered in §3, Hardware Setup.
- Access to the engine and a way to turn it over. You need to reach the spark-plug holes and to rotate the crankshaft (typically by hand on the propeller) so you can position the piston and open each valve.
For shops — See §3, Hardware Setup for the connection choice that fits your bench.
1.3 First launch: a quick welcome
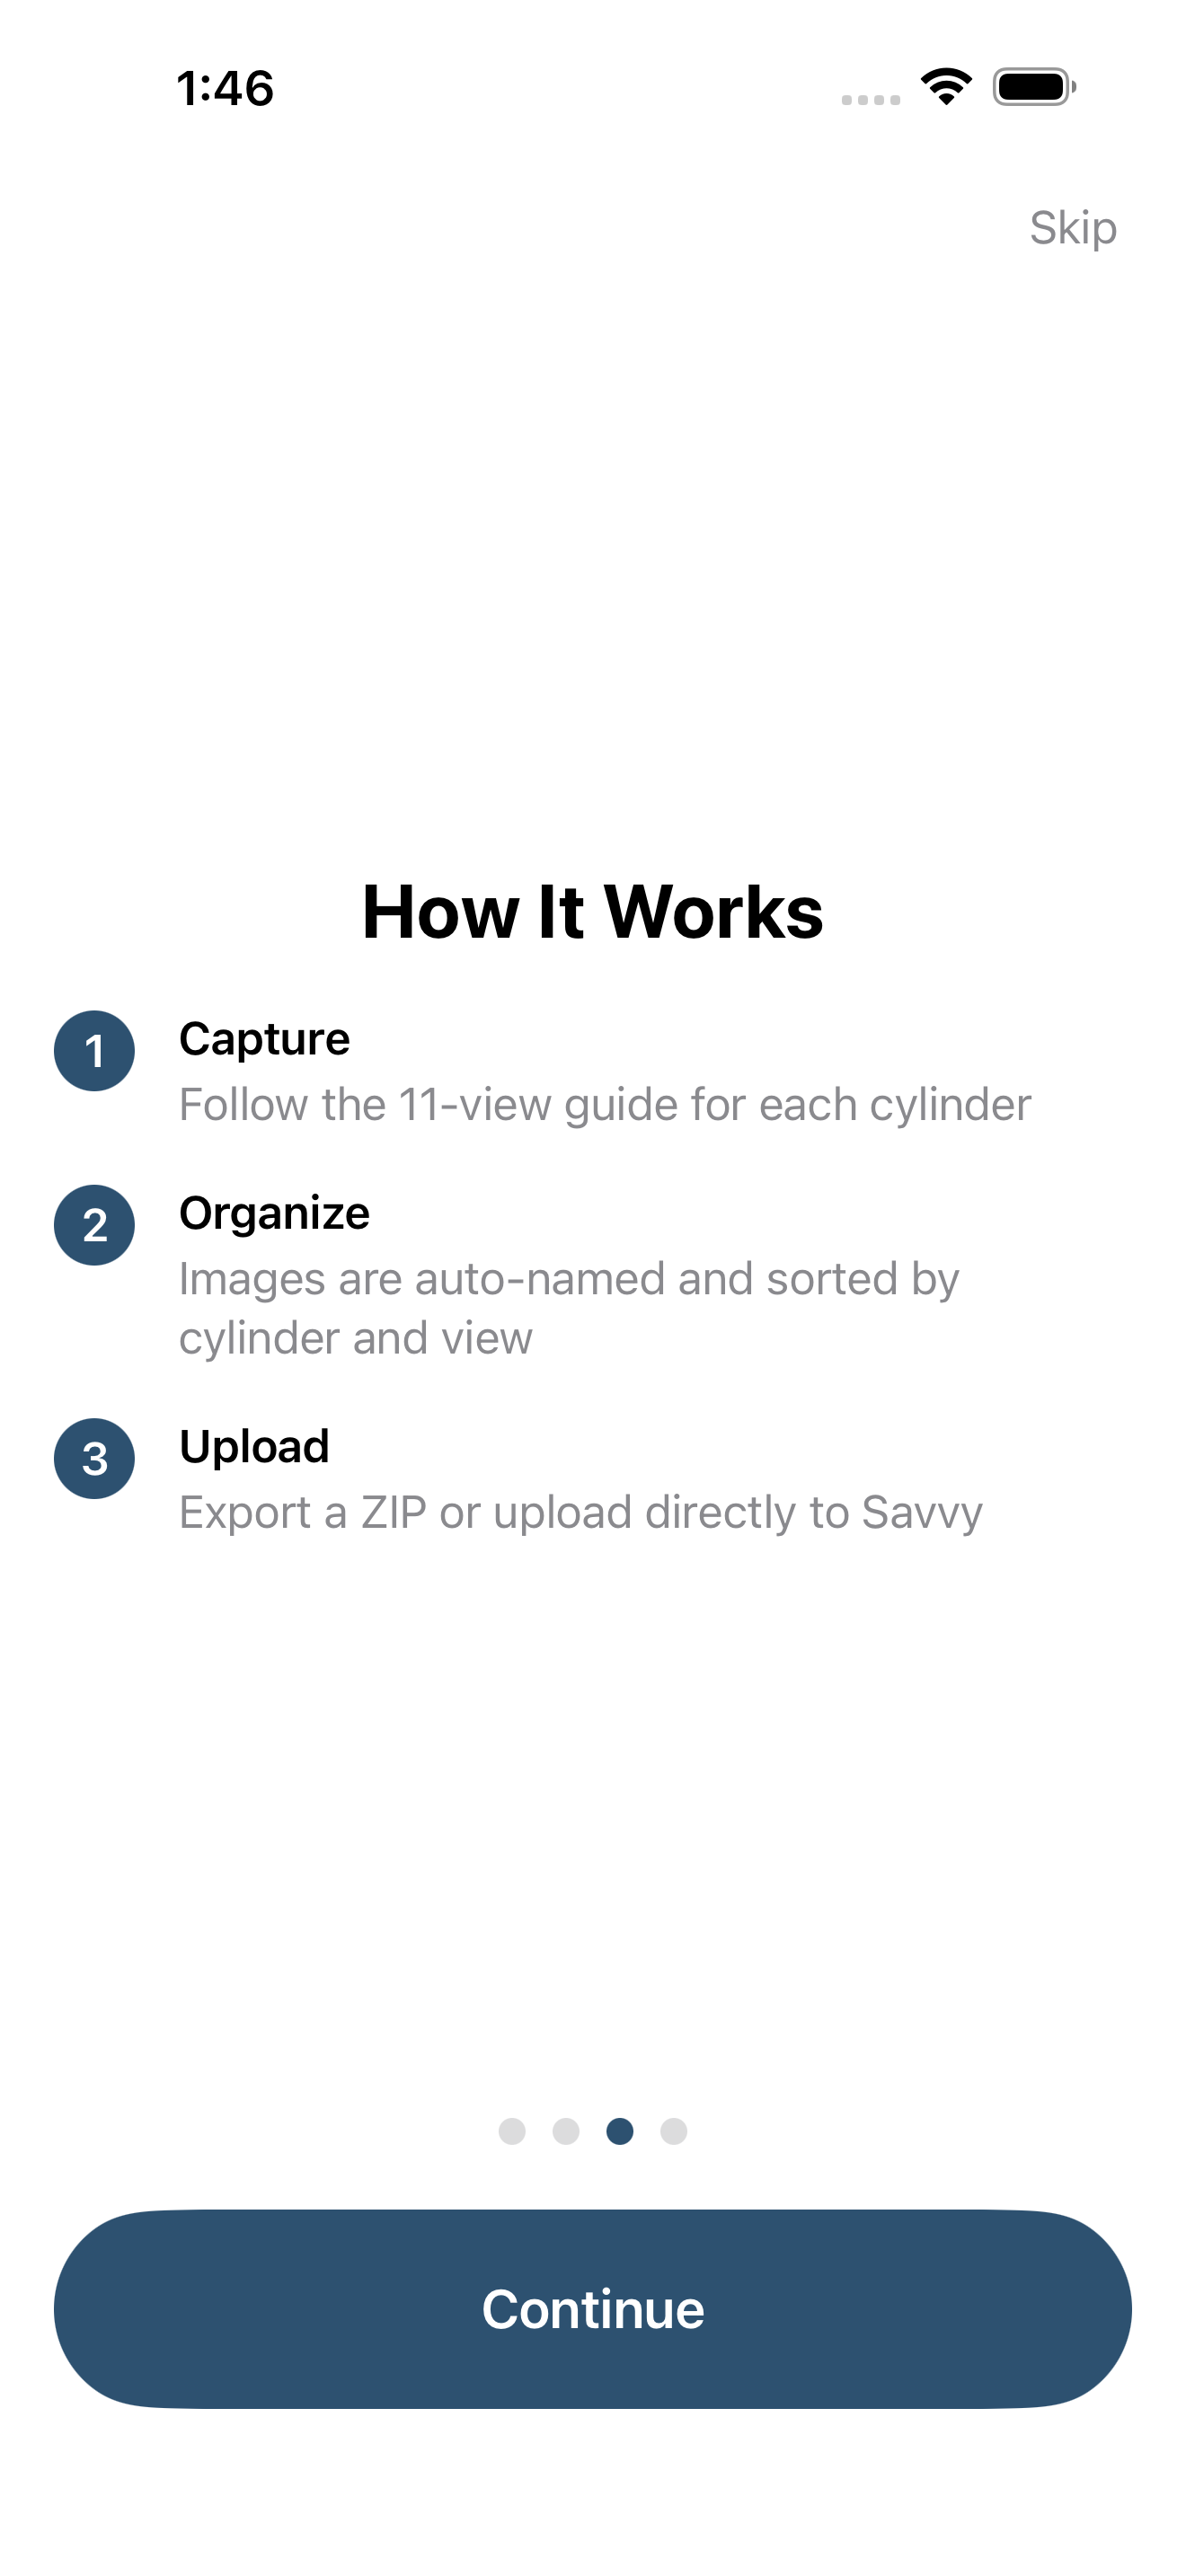
The first time you open Jug Scope, a short welcome walks you through what the app does and what you will need — a few tappable pages, no setup required. Skip takes you straight to the last page, Before You Start, which asks two quick questions: whether Jug Scope may upload diagnostic reports automatically, and whether to share usage stats. Answer each one — Not Now is a complete answer — then tap Get Started. You can change either choice later in Settings.
Next, you sign in with Apple so your work is backed up and available across your devices. Signing in takes one tap and is covered in §2, Account & Sign-In.
Jug Scope does not ask for any other permission when it opens. It asks only when a feature needs one: your location when you start your first inspection (so each image can record where it was taken), the camera when you first use the built-in camera or plug in a cable borescope, and access to your local network the first time you connect a borescope (see §3.5).
1.4 Pick your path
Jug Scope serves two kinds of people, and the rest of this guide is written for both — with callouts wherever the two diverge. Find yourself below:
- You own the airplane and do your own inspections. Jug Scope keeps a credible, comparable record of your engine over time and gives you something organized to put in front of a mechanic or send out for analysis. Your tailored walkthrough is §7, Guide for Individual Owners.
- You run a maintenance shop inspecting many customers' aircraft. Jug Scope gives every technician the same complete result, a clean deliverable to hand each customer, and tools to receive and send inspections across shops. Your tailored walkthrough is §8, Guide for Shops.
Most of the app is identical either way — connecting a borescope, capturing the eleven views, reviewing and comparing — so the shared sections (§3 through §6) apply to everyone. The audience guides simply stitch those shared steps into the order that fits how you work.
1.5 The Home screen
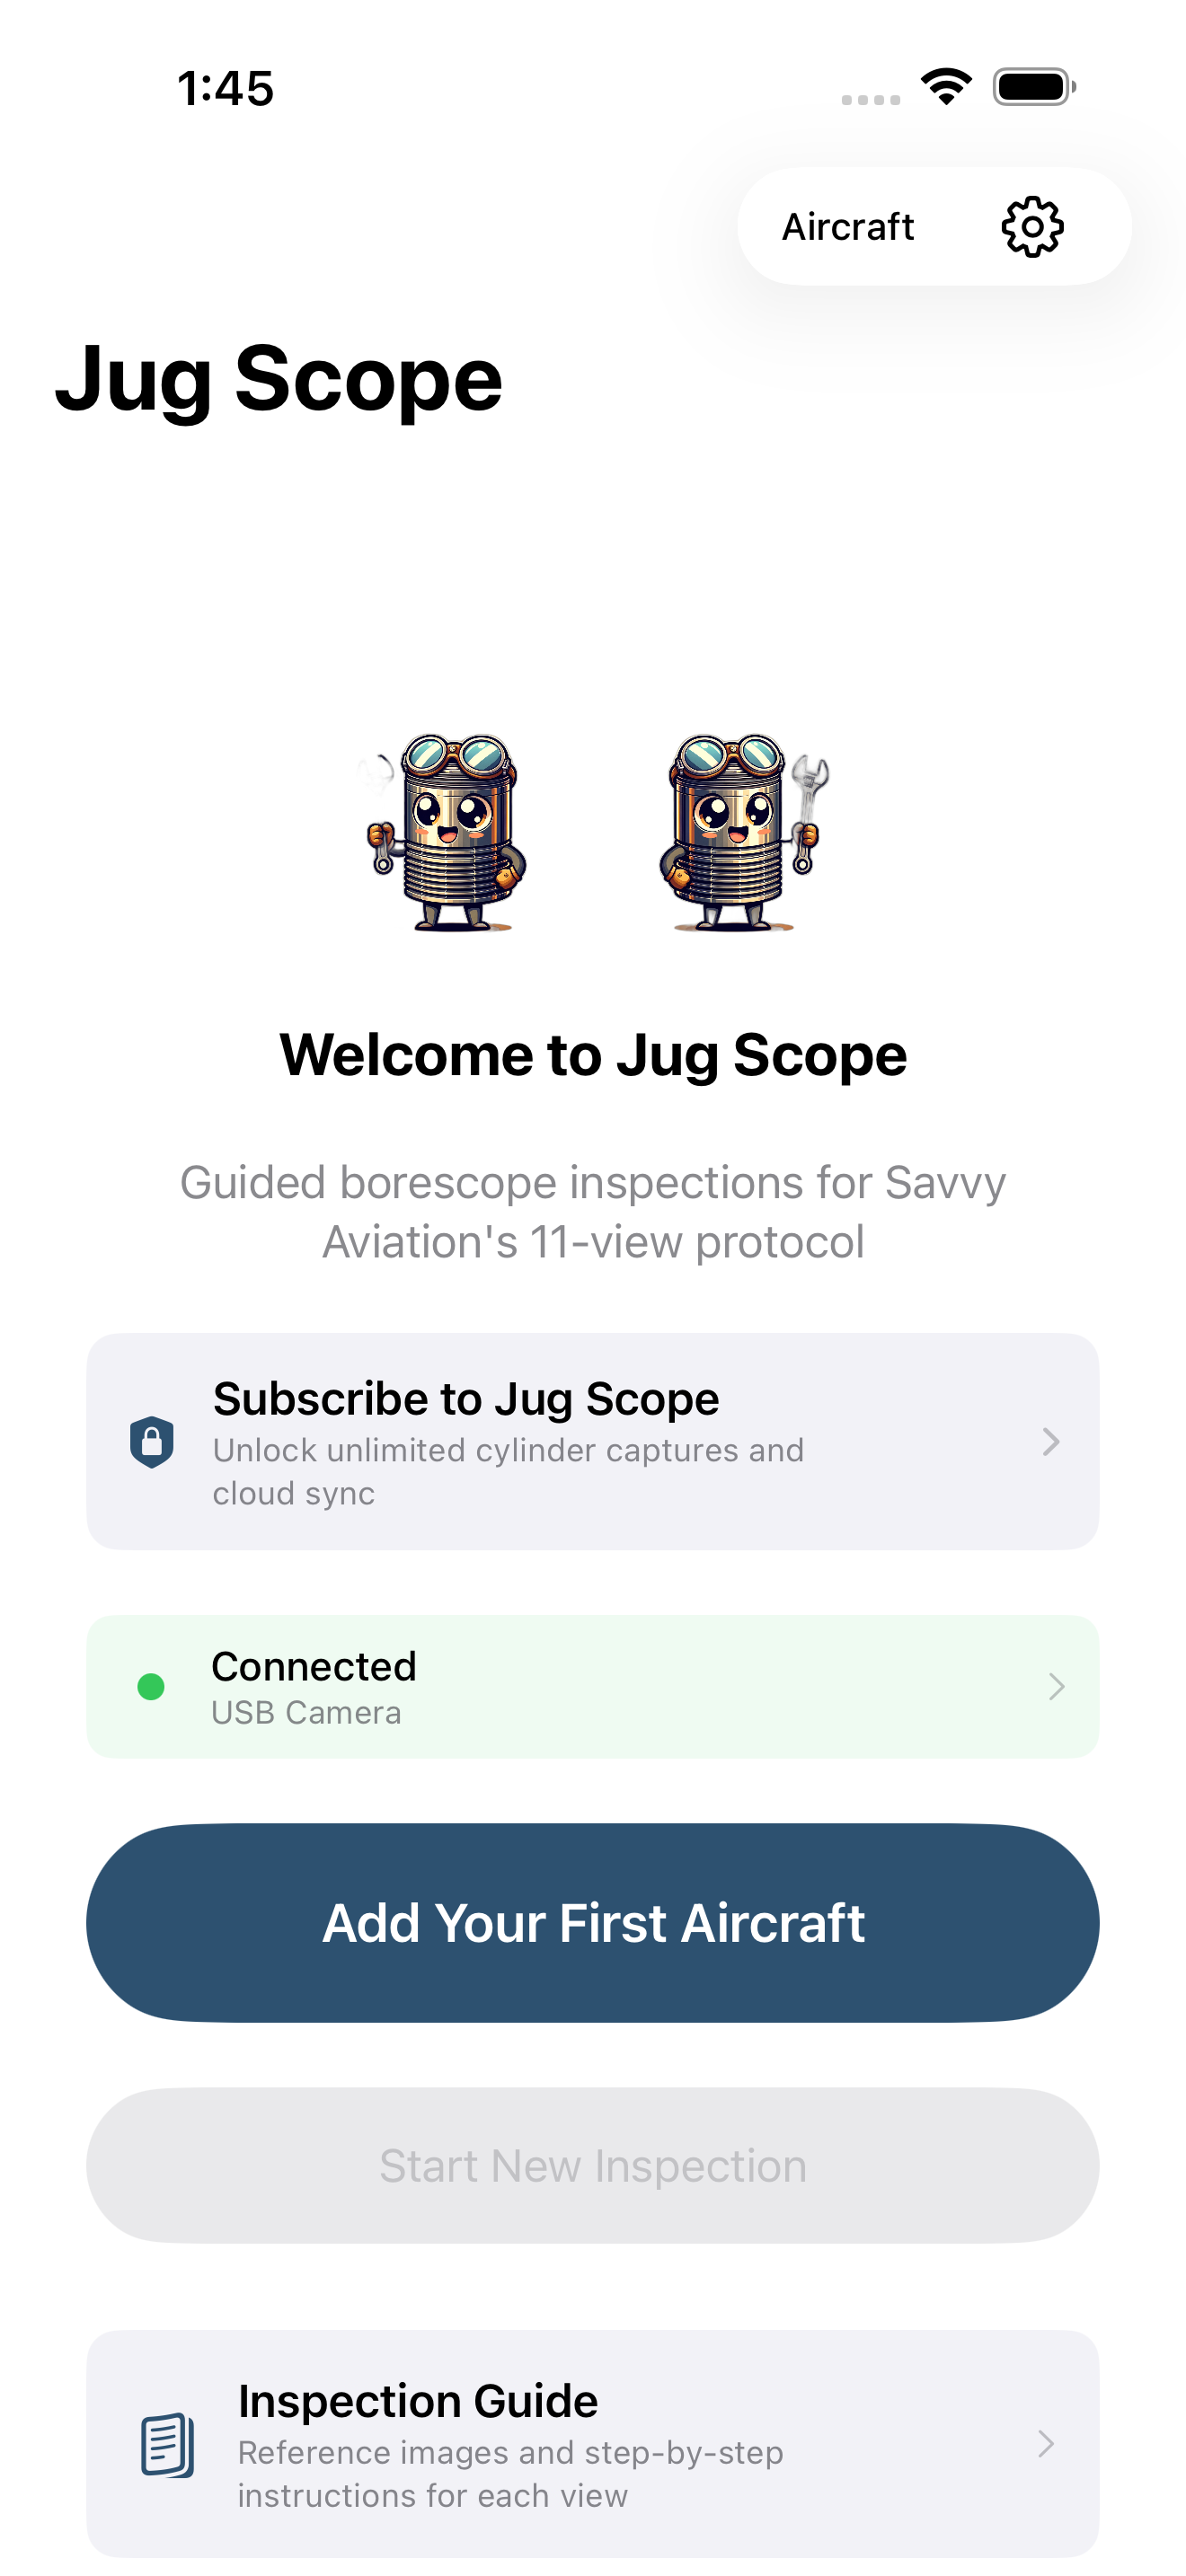
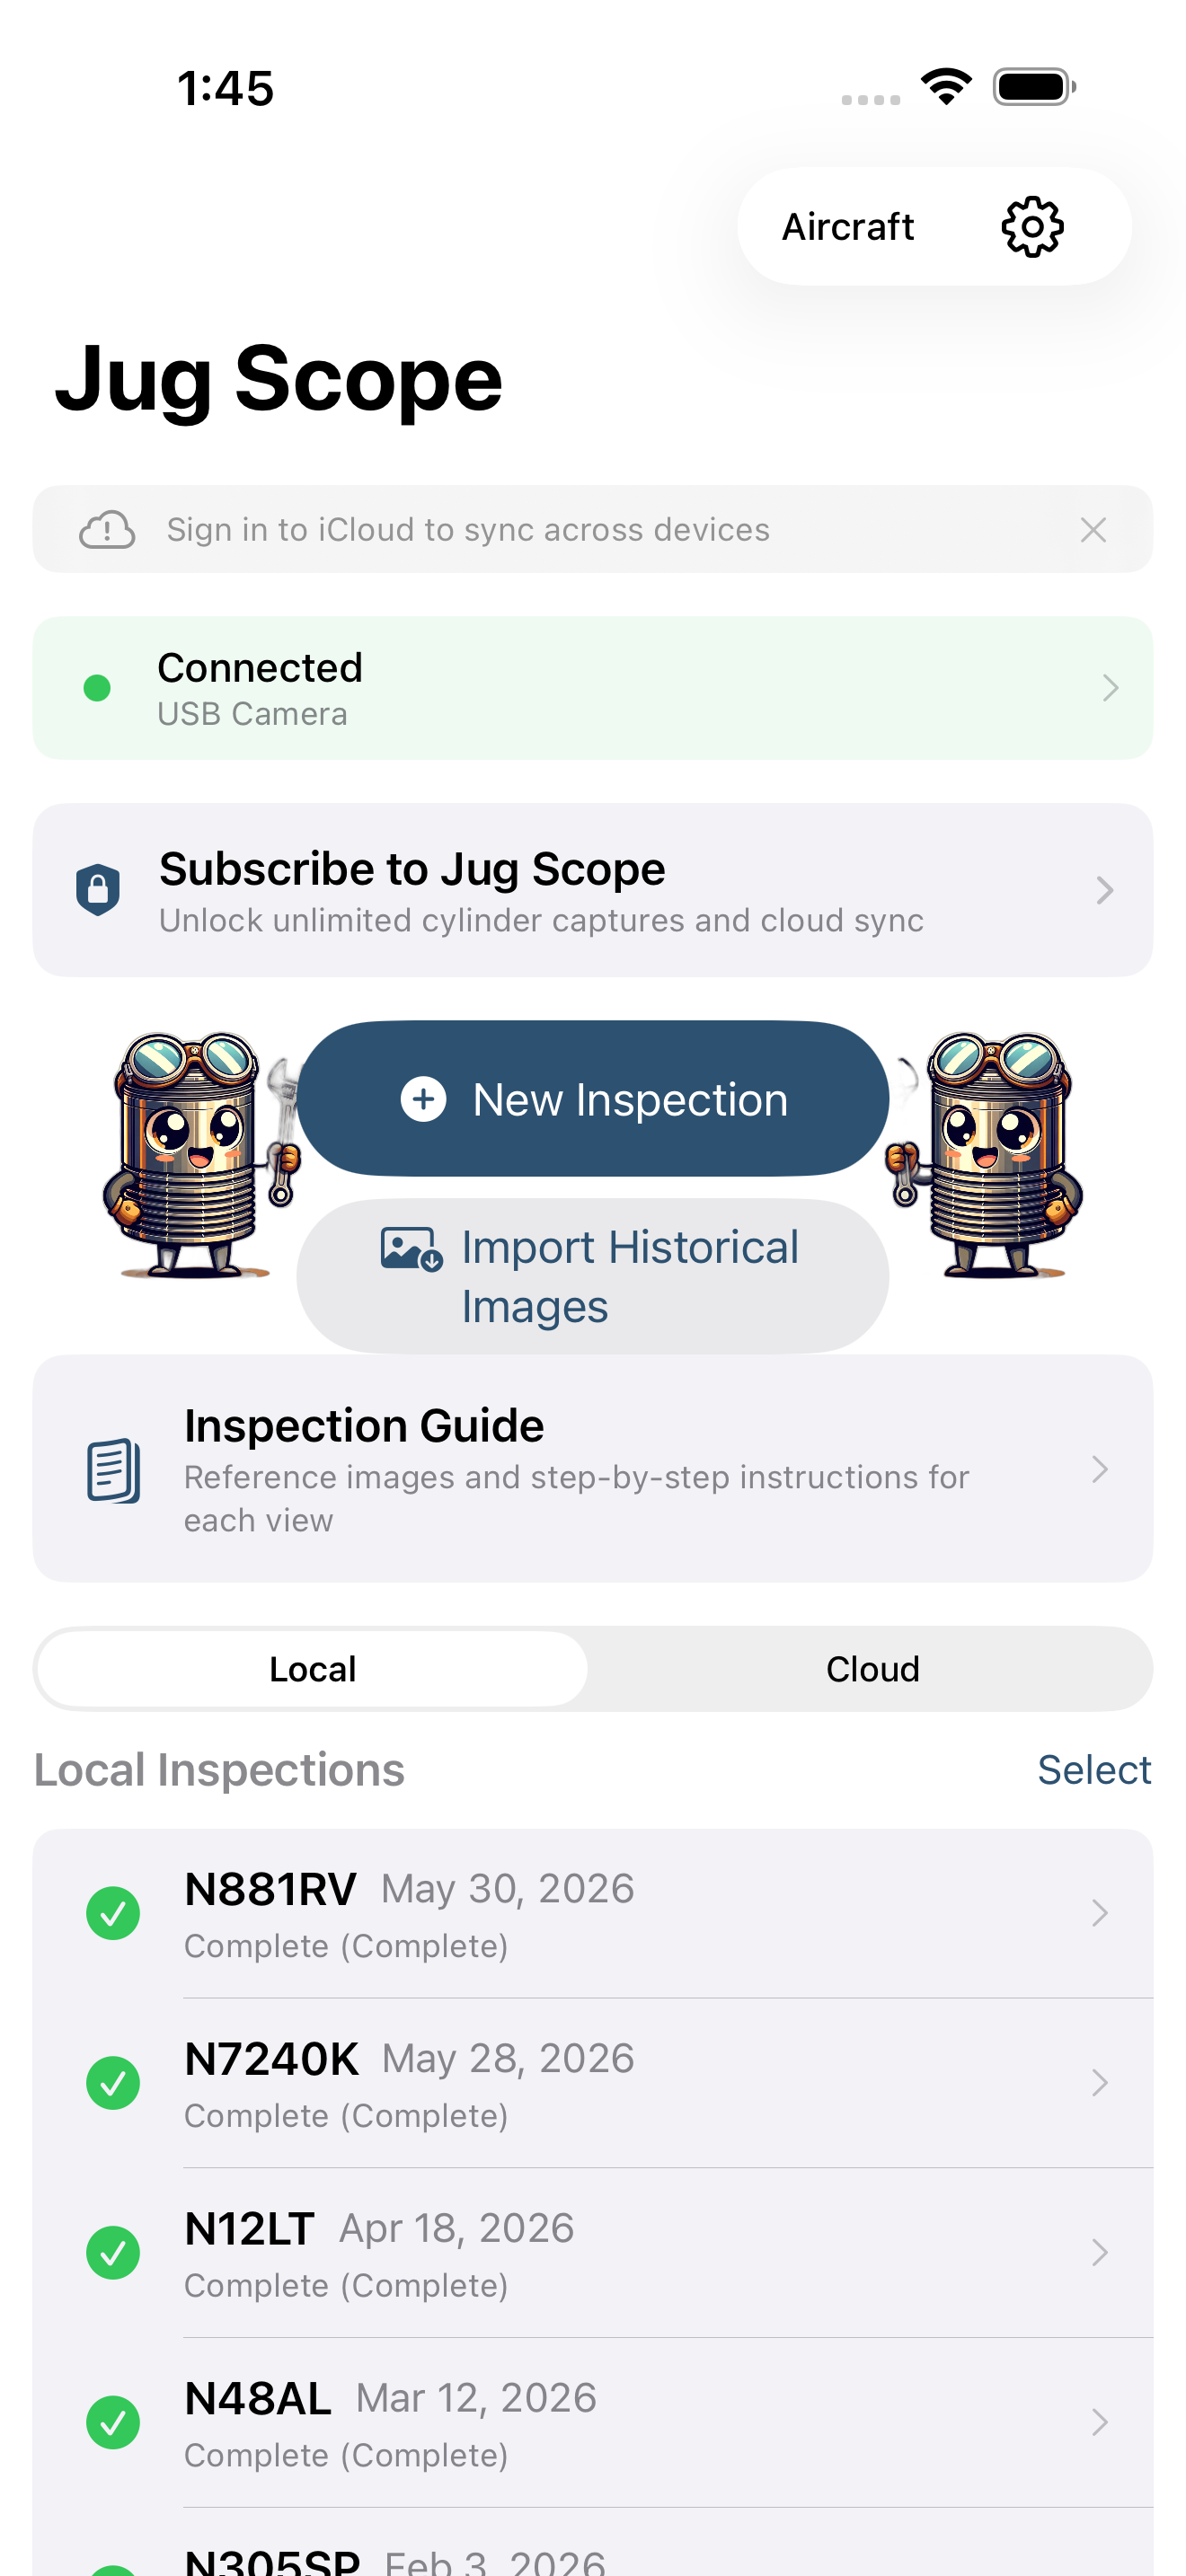
The Home screen is your starting point every time you open the app. Before you have added an aircraft, it greets you with a short welcome and a single clear next step — Add Your First Aircraft. Once you have at least one aircraft on file, Home becomes your dashboard: it shows your recent inspections, offers to resume any inspection still in progress, and puts a new inspection one tap away.
From Home you can:
- Start a new inspection once you have an aircraft on file (see §4.1).
- Manage your aircraft — add, edit, or review the tails you inspect.
- Open the Inspection Guide — reference images and step-by-step instructions for each of the eleven views, useful before you ever connect a borescope.
- Open Settings — appearance, account, defaults, and more (see §11, Settings Reference).
Tip — The Inspection Guide on the Home screen is worth a look before your first trip to the hangar. It shows what a good shot of each view looks like, so you arrive knowing what you are aiming for.
1.6 The sixty-second tour
Here is the whole arc, end to end, so the pieces have a place to land before you read the detailed sections:
- Add your aircraft. Enter the tail number, make and model, engine, and cylinder count once. Jug Scope uses that to size every future inspection correctly. (See §7.2 for owners.)
- Connect your borescope. Join the scope over WiFi, or plug in a cable borescope, and confirm you have a live picture. (See §3, Hardware Setup.)
- Start an inspection. Pick the aircraft, set the date and engine time, and begin. (See §4.1.)
- Capture the eleven views, cylinder by cylinder. Follow the on-screen guide; the app keeps you in order and tracks your progress. (See §4.3.)
- Review and compare. Check your shots, and line the same view up against past inspections to see what is changing. (See §5, Reviewing & Comparing.)
- Share or send. Hand the finished set to your shop or a customer, or send it out for expert analysis. (See §6, Sharing & Analysis.)
That is the entire loop. Everything else in this guide is detail on one of these six steps.
For owners — Steps 1 and 5 are where the long-term payoff lives: set the aircraft up once, log your engine time every inspection, and the comparison tools turn a stack of inspections into a trend you can actually watch.
For shops — Steps 2 through 4 are where speed and consistency pay off: the same guided sequence, every tech, every aircraft, so step 6 always produces a deliverable you are proud to hand over.